Grouping of OpenResty XRay Agents
Organizing OpenResty XRay Agents with Tags
Feature Overview
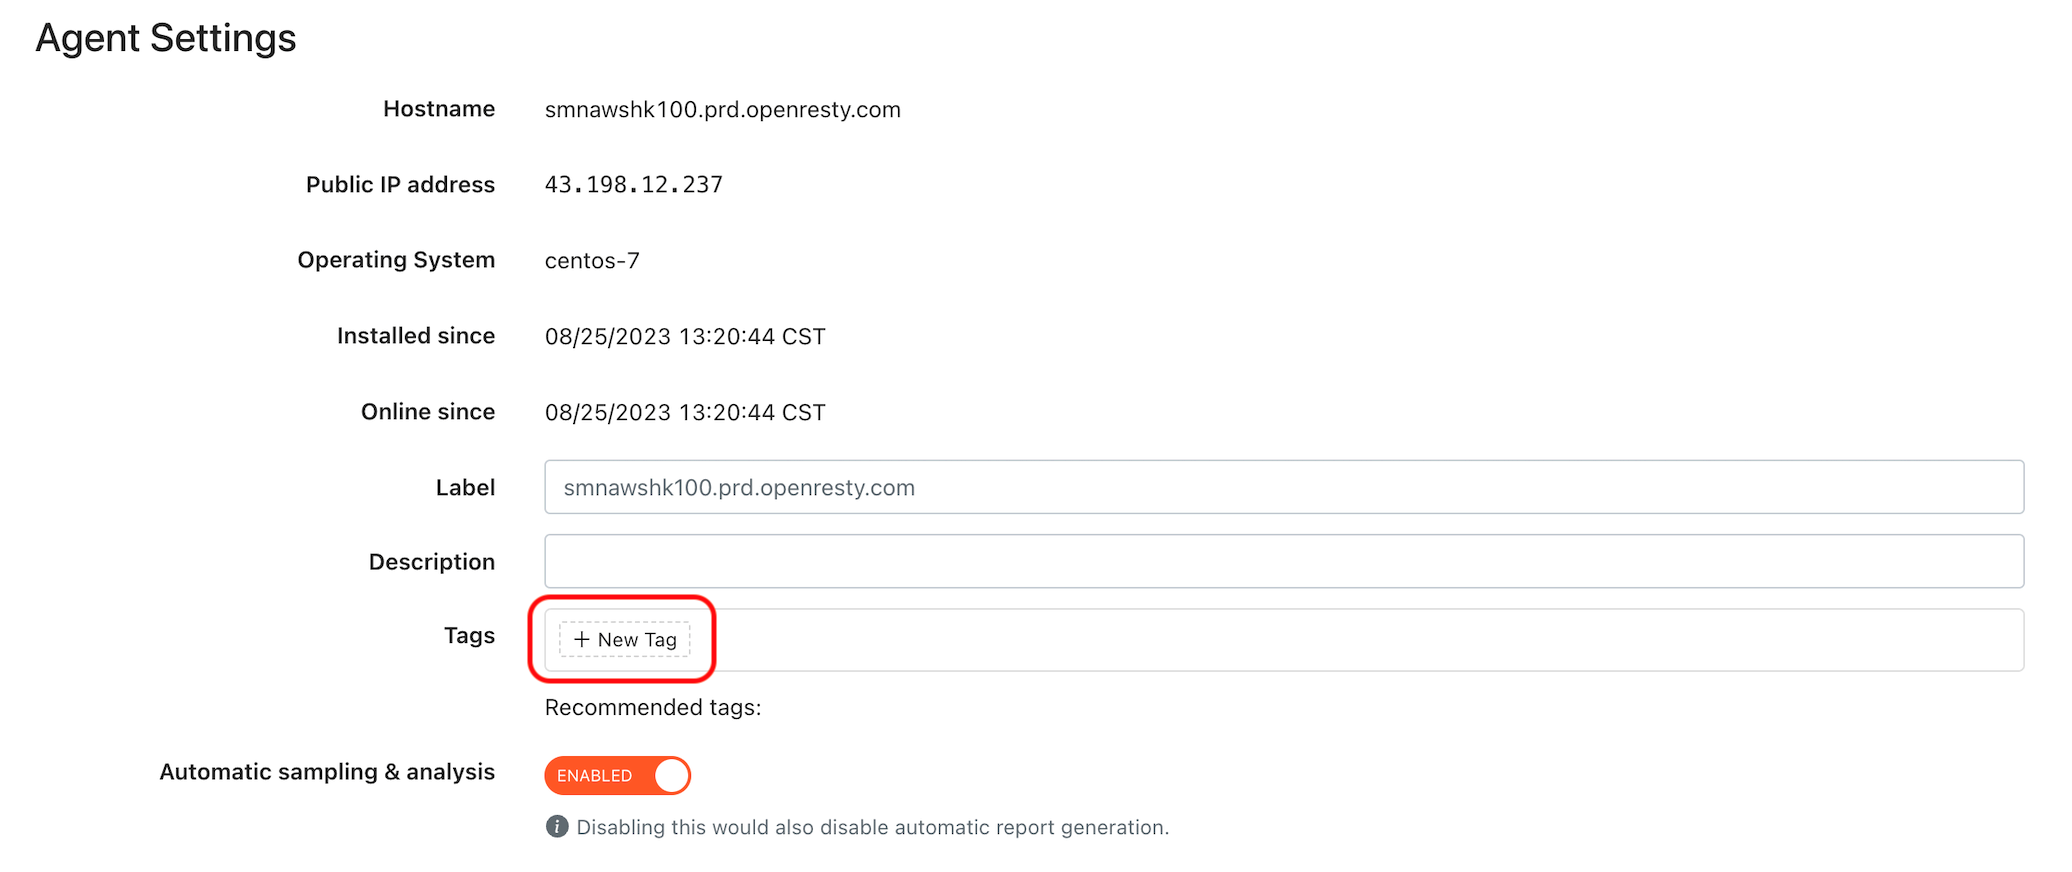
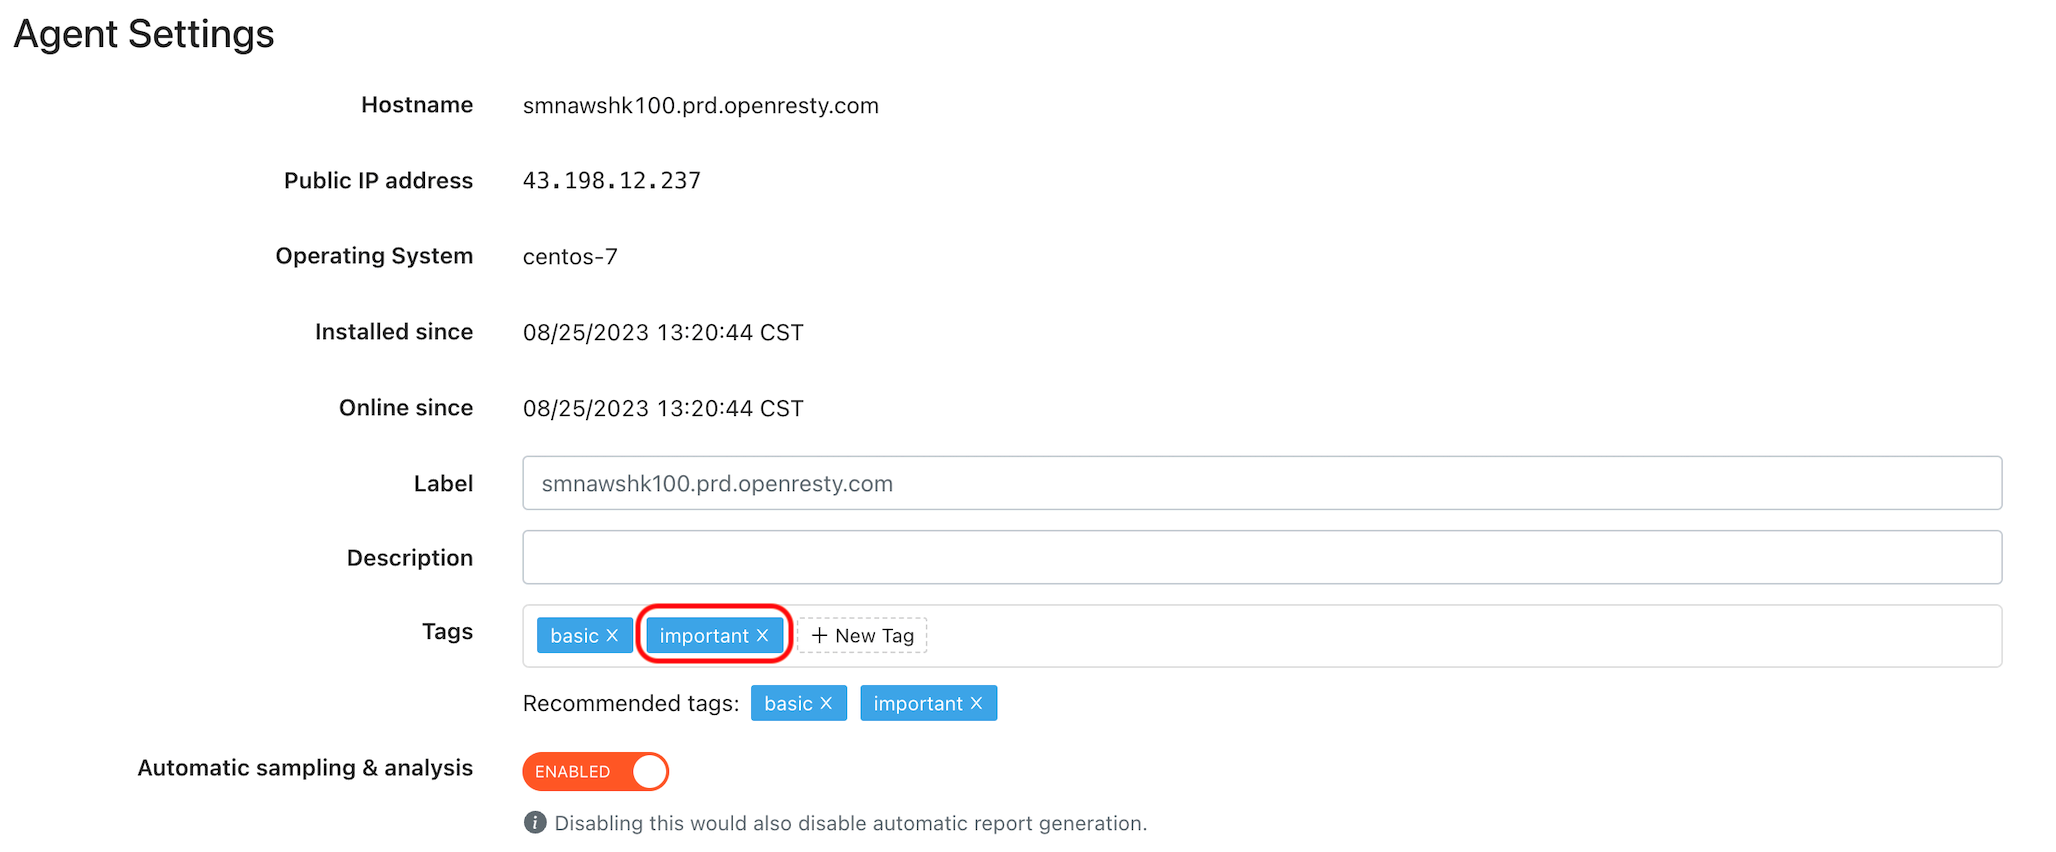
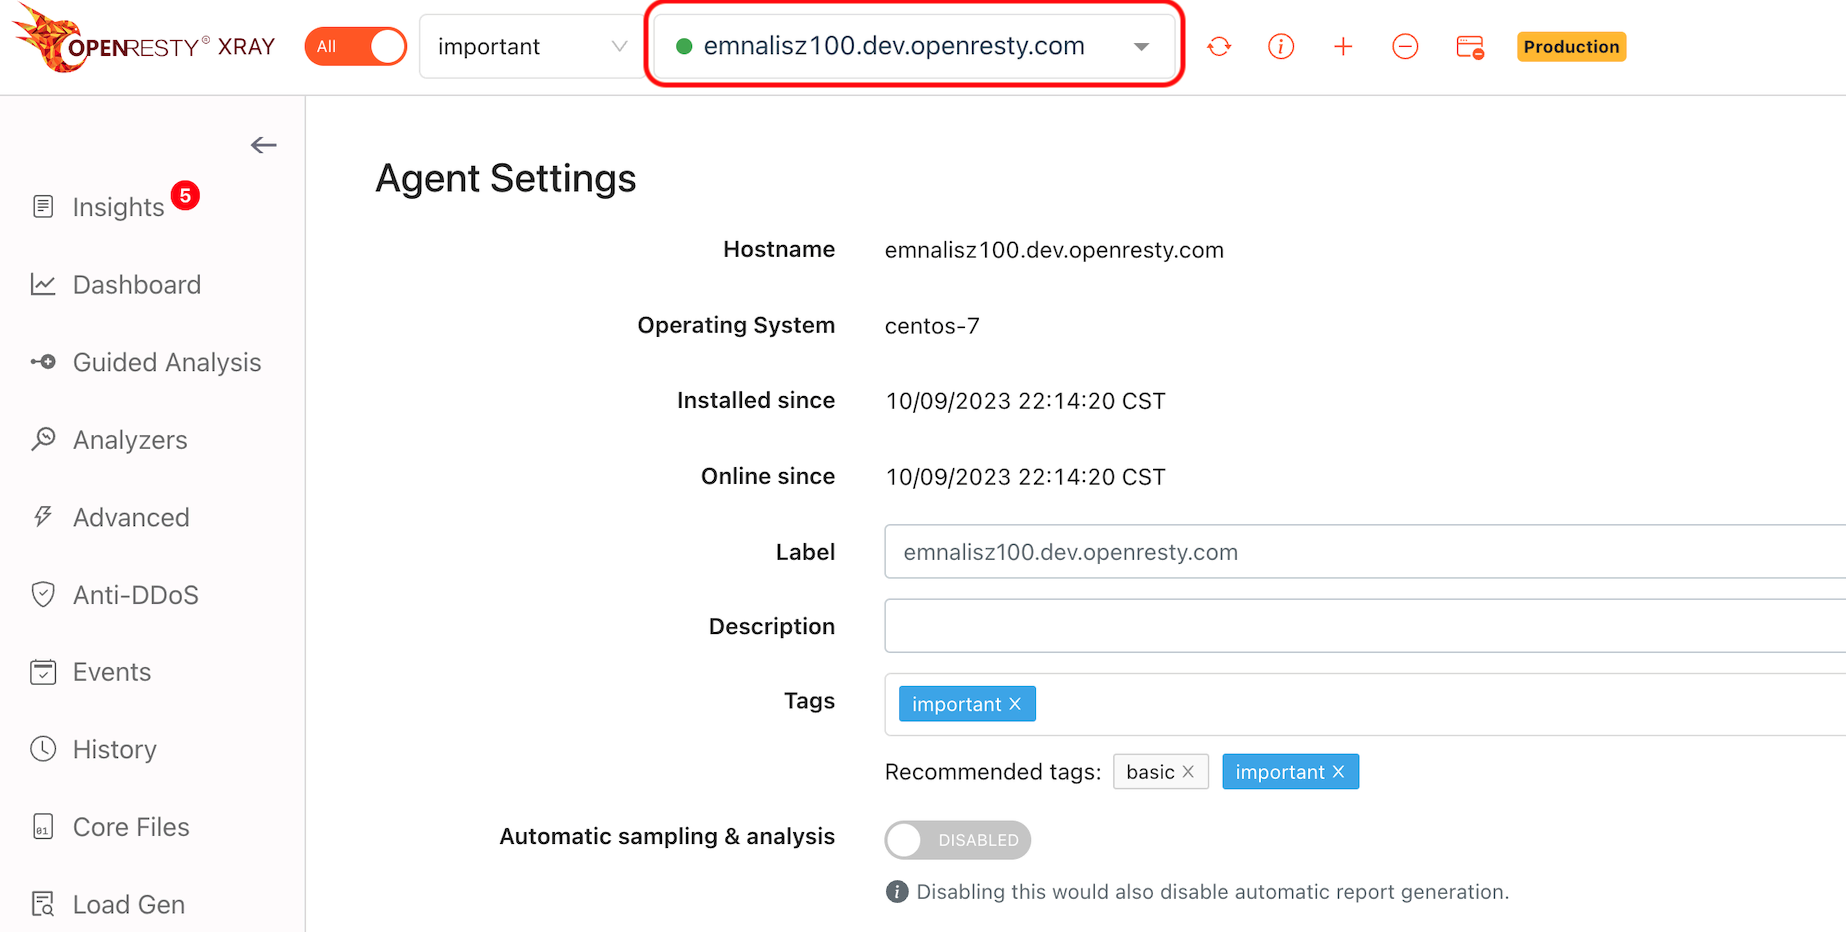
OpenResty XRay allows users to add tags to agents. These tags facilitate the organization and management of agents by enabling grouping and filtering based on various tags.
Adding New Tags
- Navigate to the agent settings page and click on the “New Tag” button.
- Input the desired tag name.
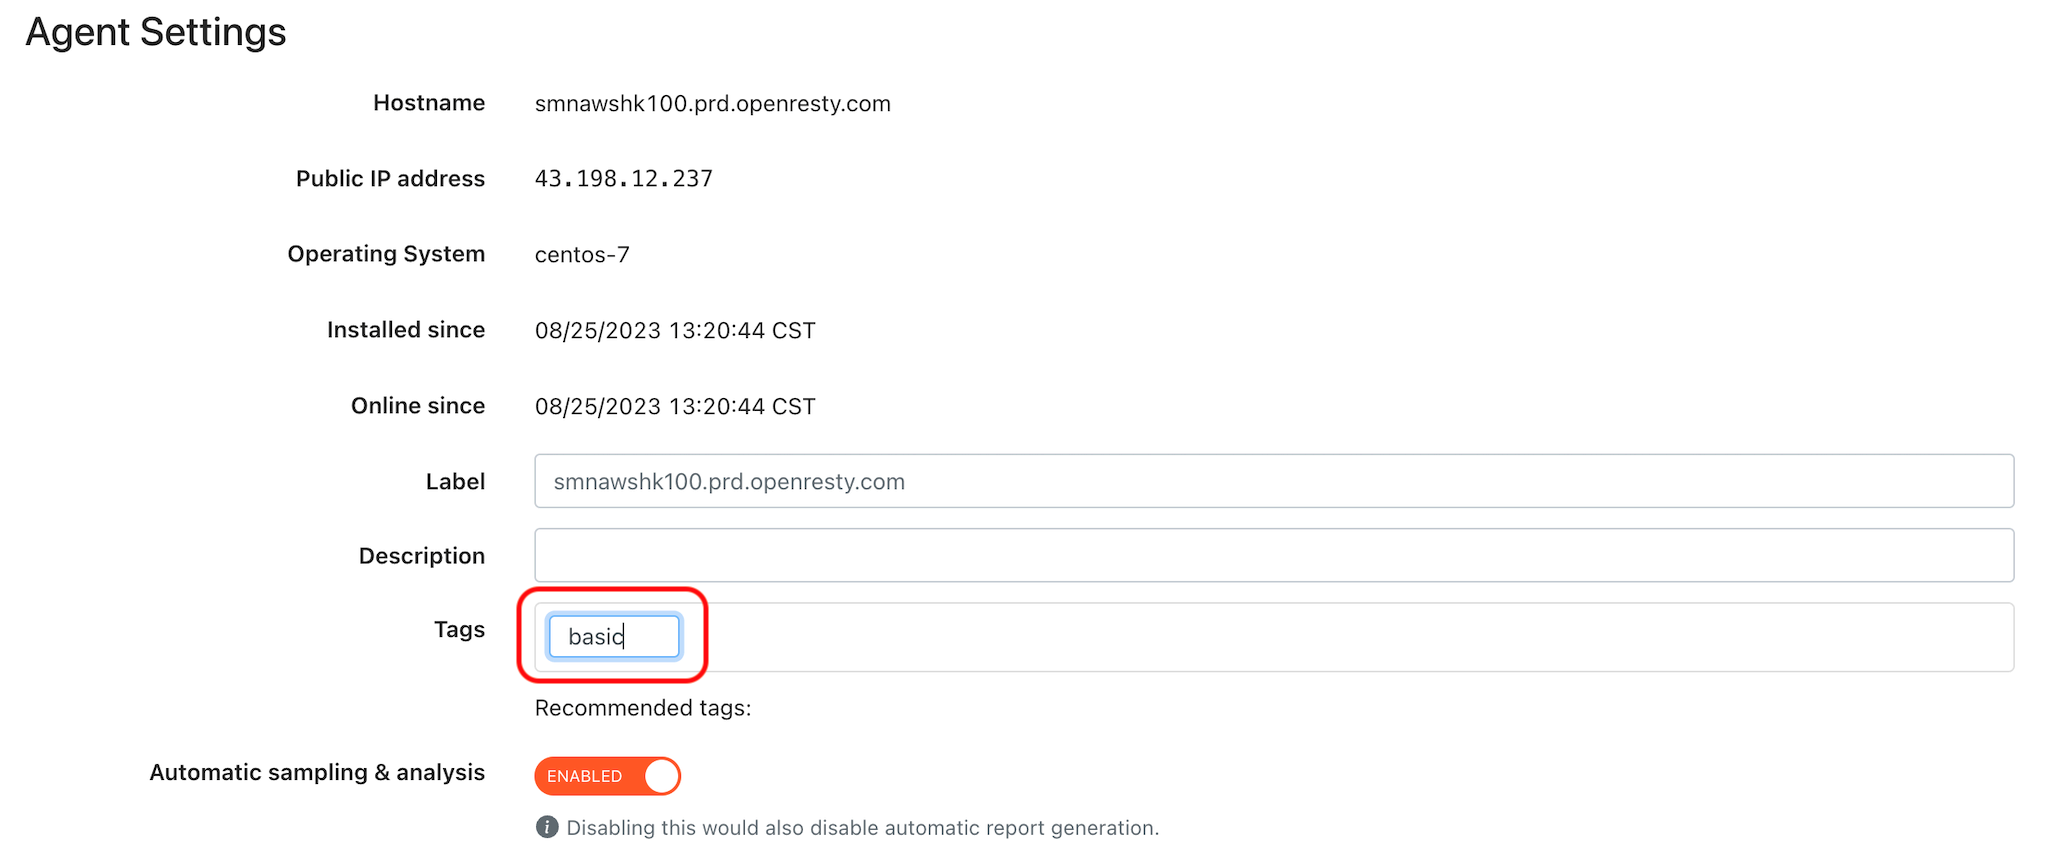
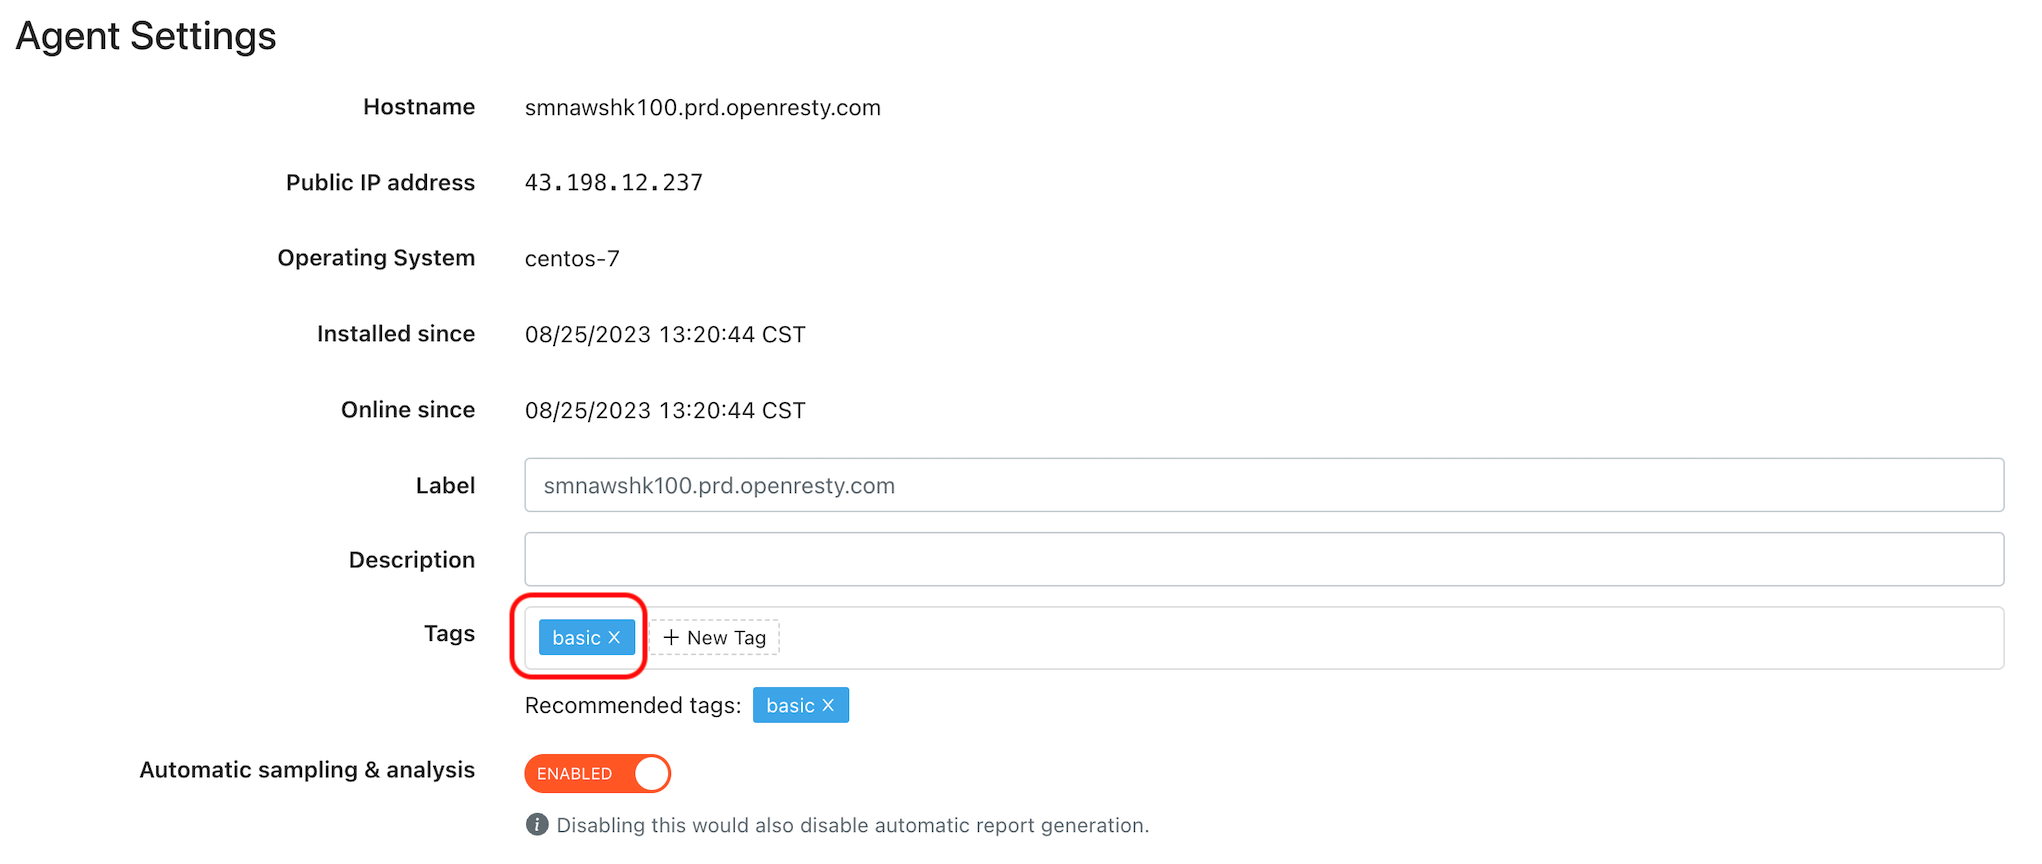
- Verify the tag name for accuracy, then either press the Enter key or click outside the field to submit. The system will then append the new tag to both the agent and the pool of recommended tags.
Managing Tags
- To attach a tag, simply select one from the recommended tags and add it directly to the agent.
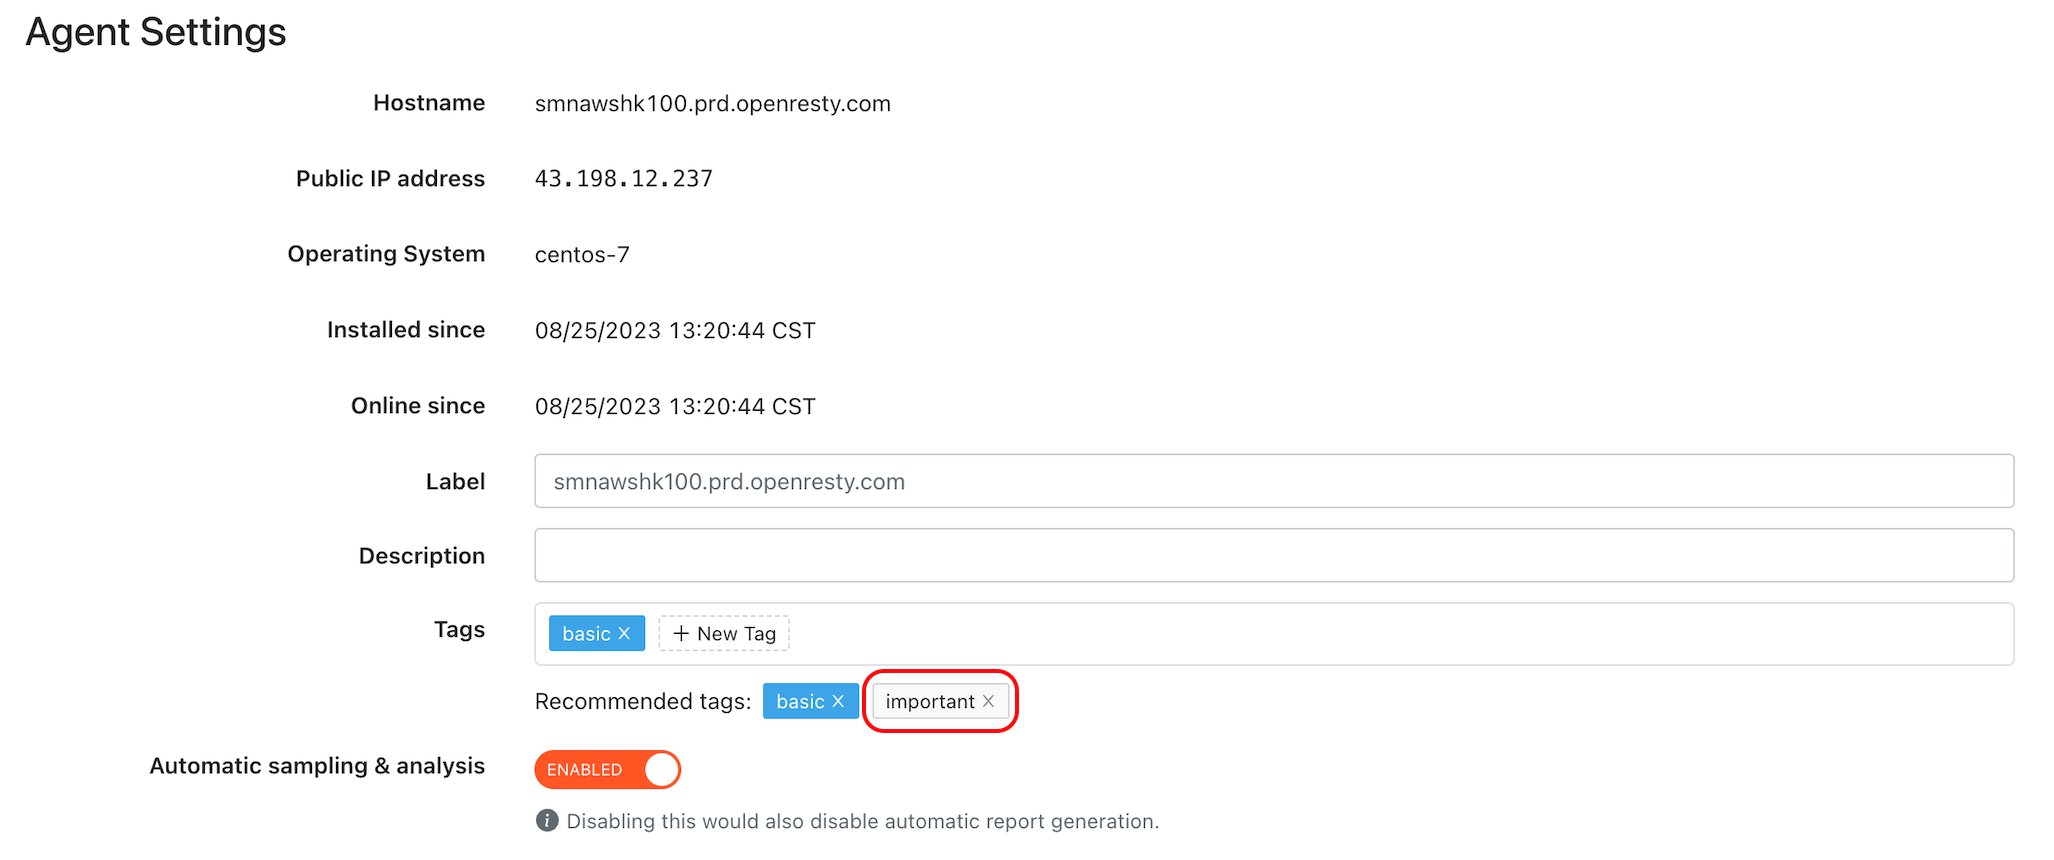
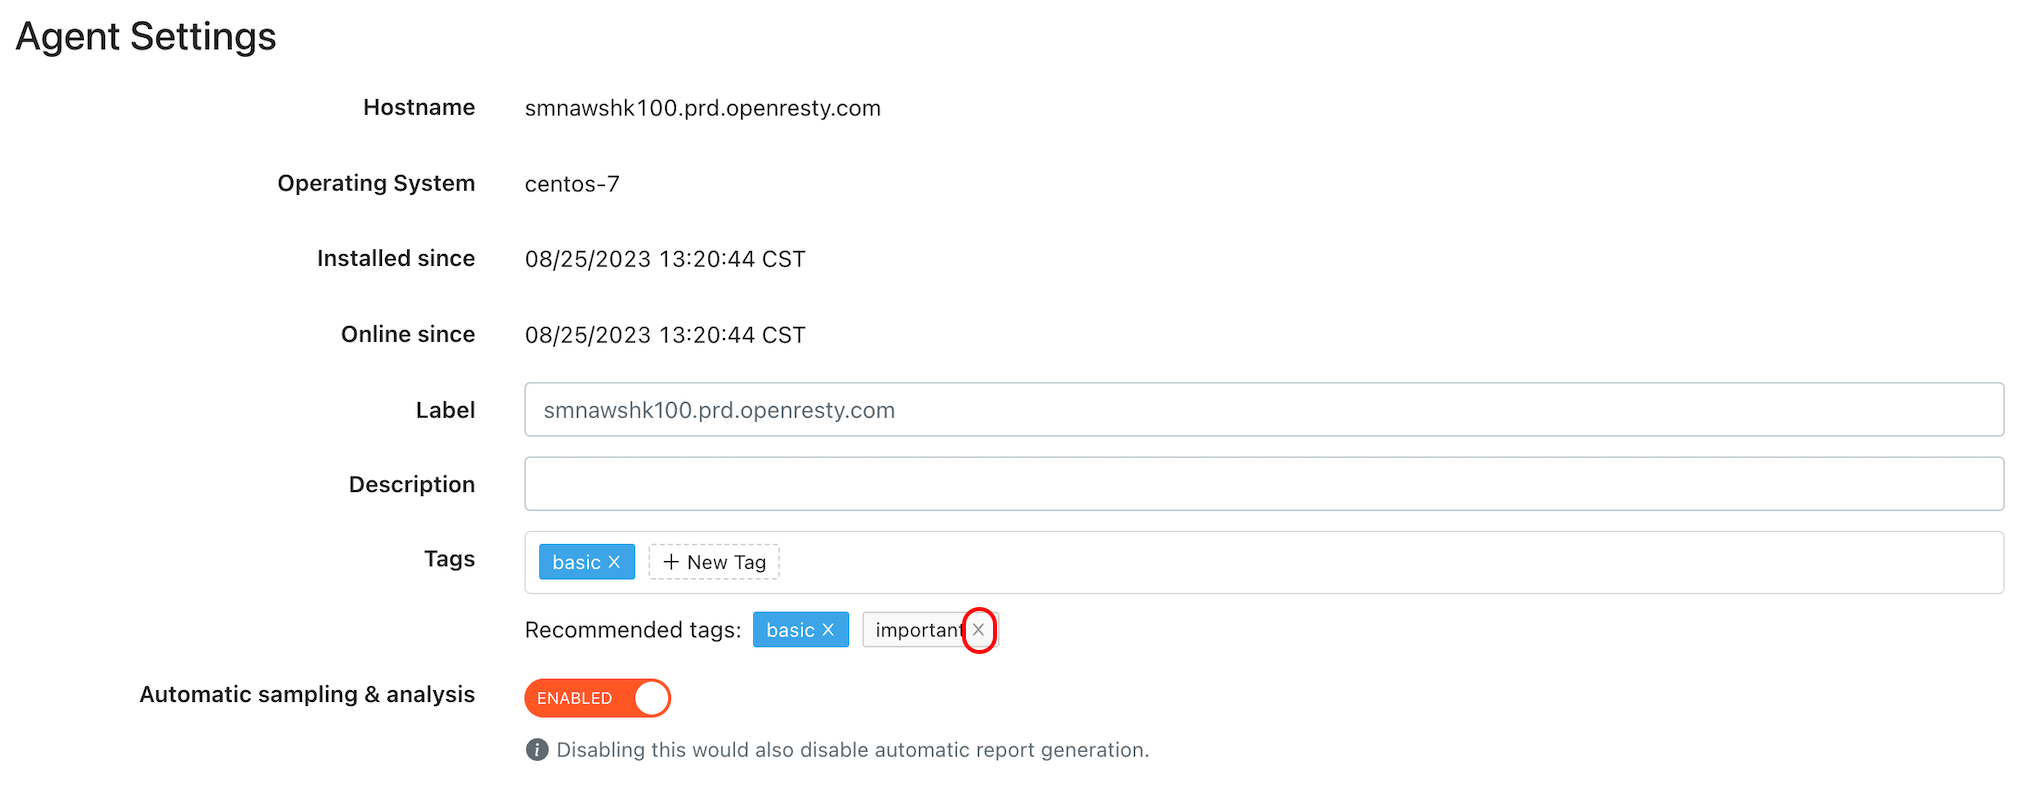
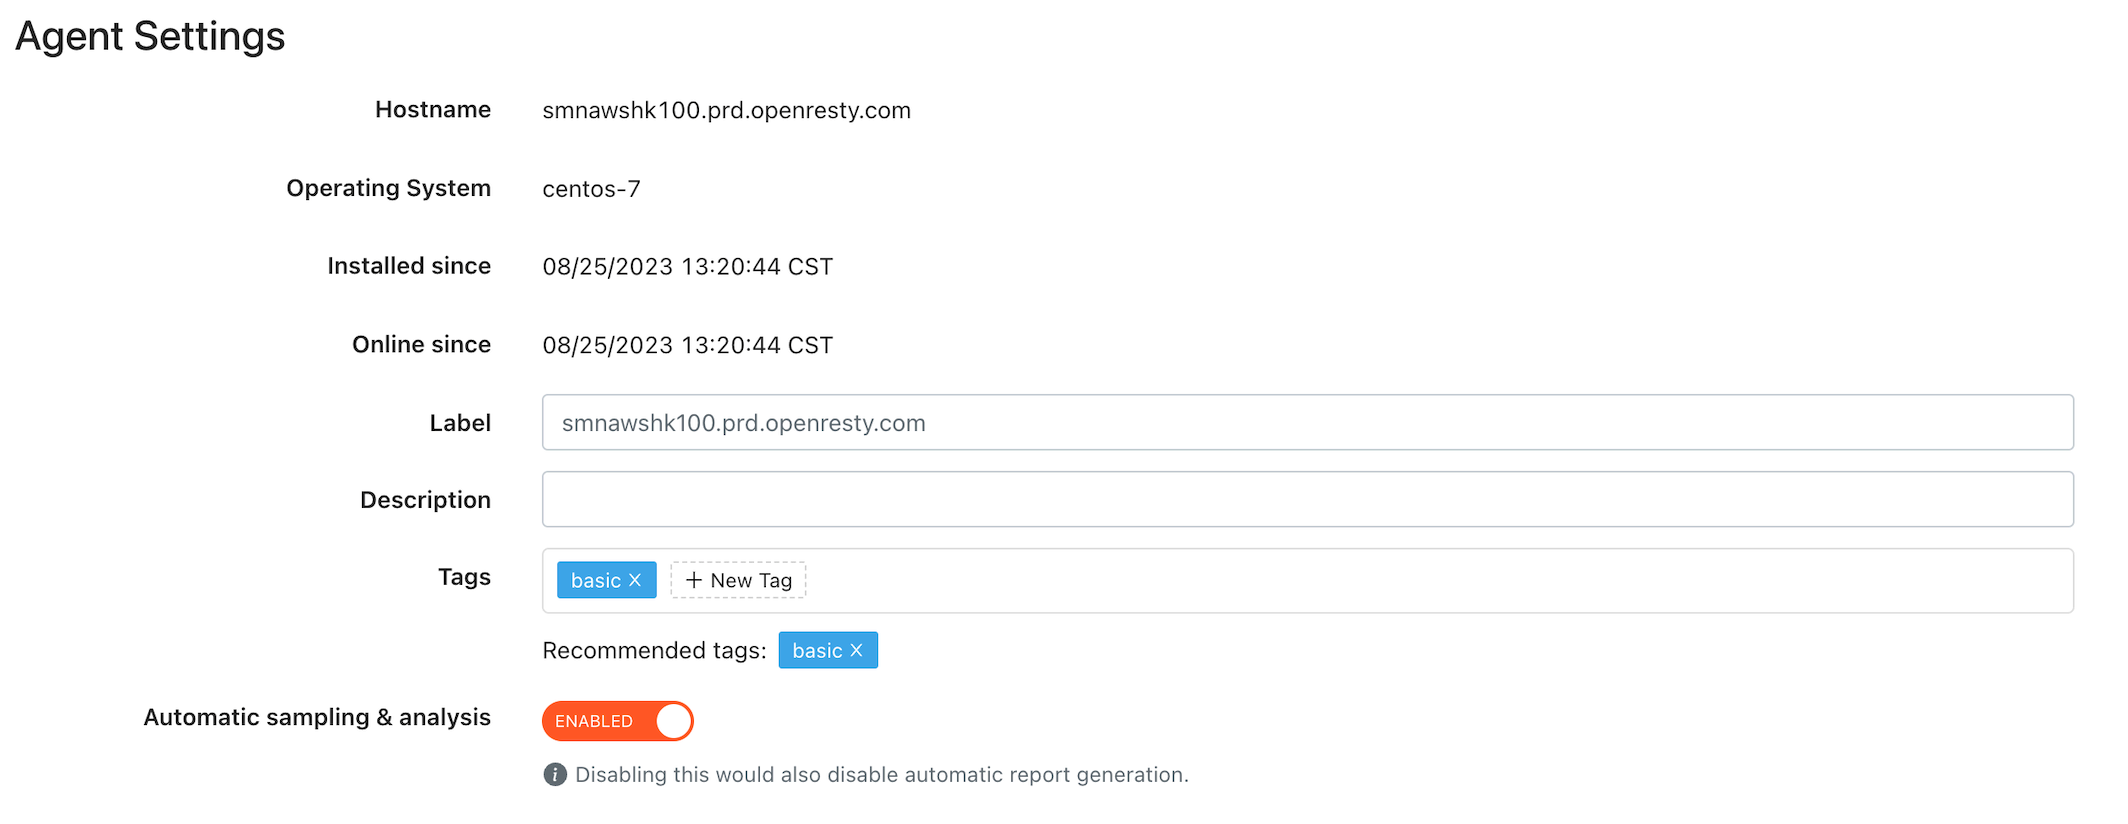
- To remove a tag that is not used by any agent, select it and proceed to delete it.
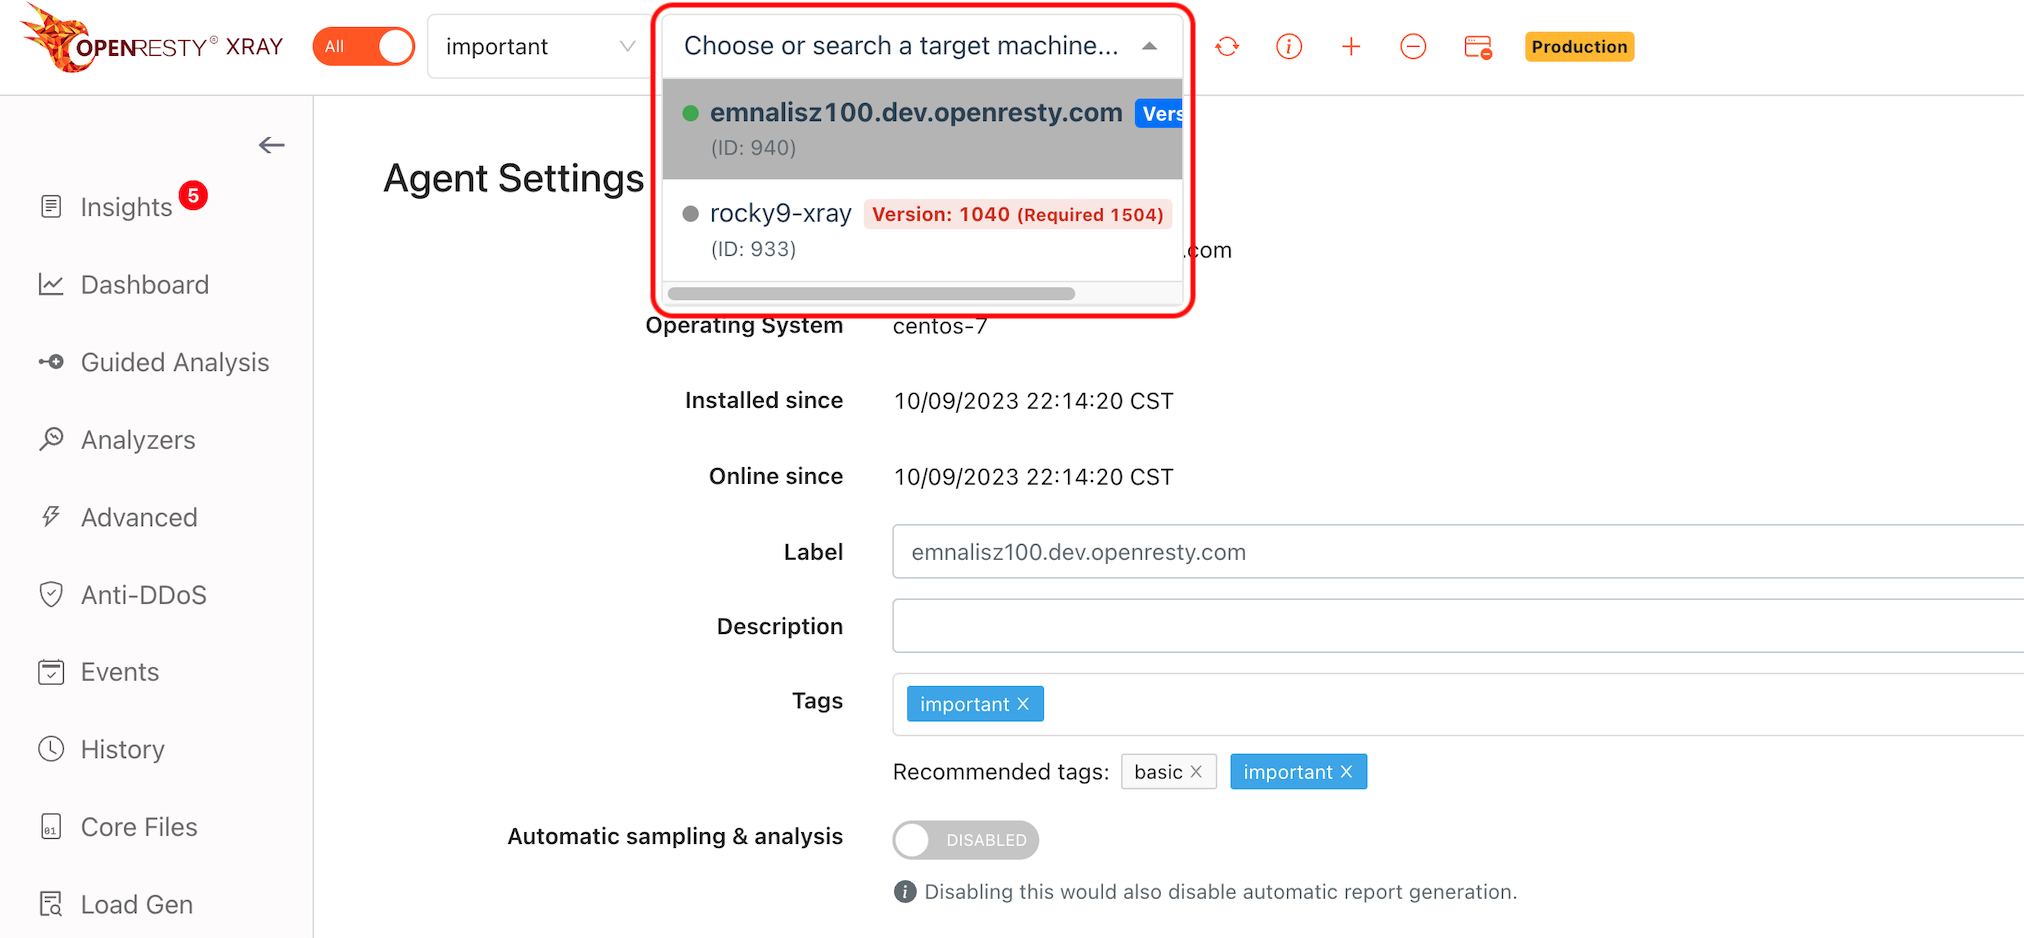
Grouping Agents
- Use the dropdown menu at the top of the system interface to choose tags.
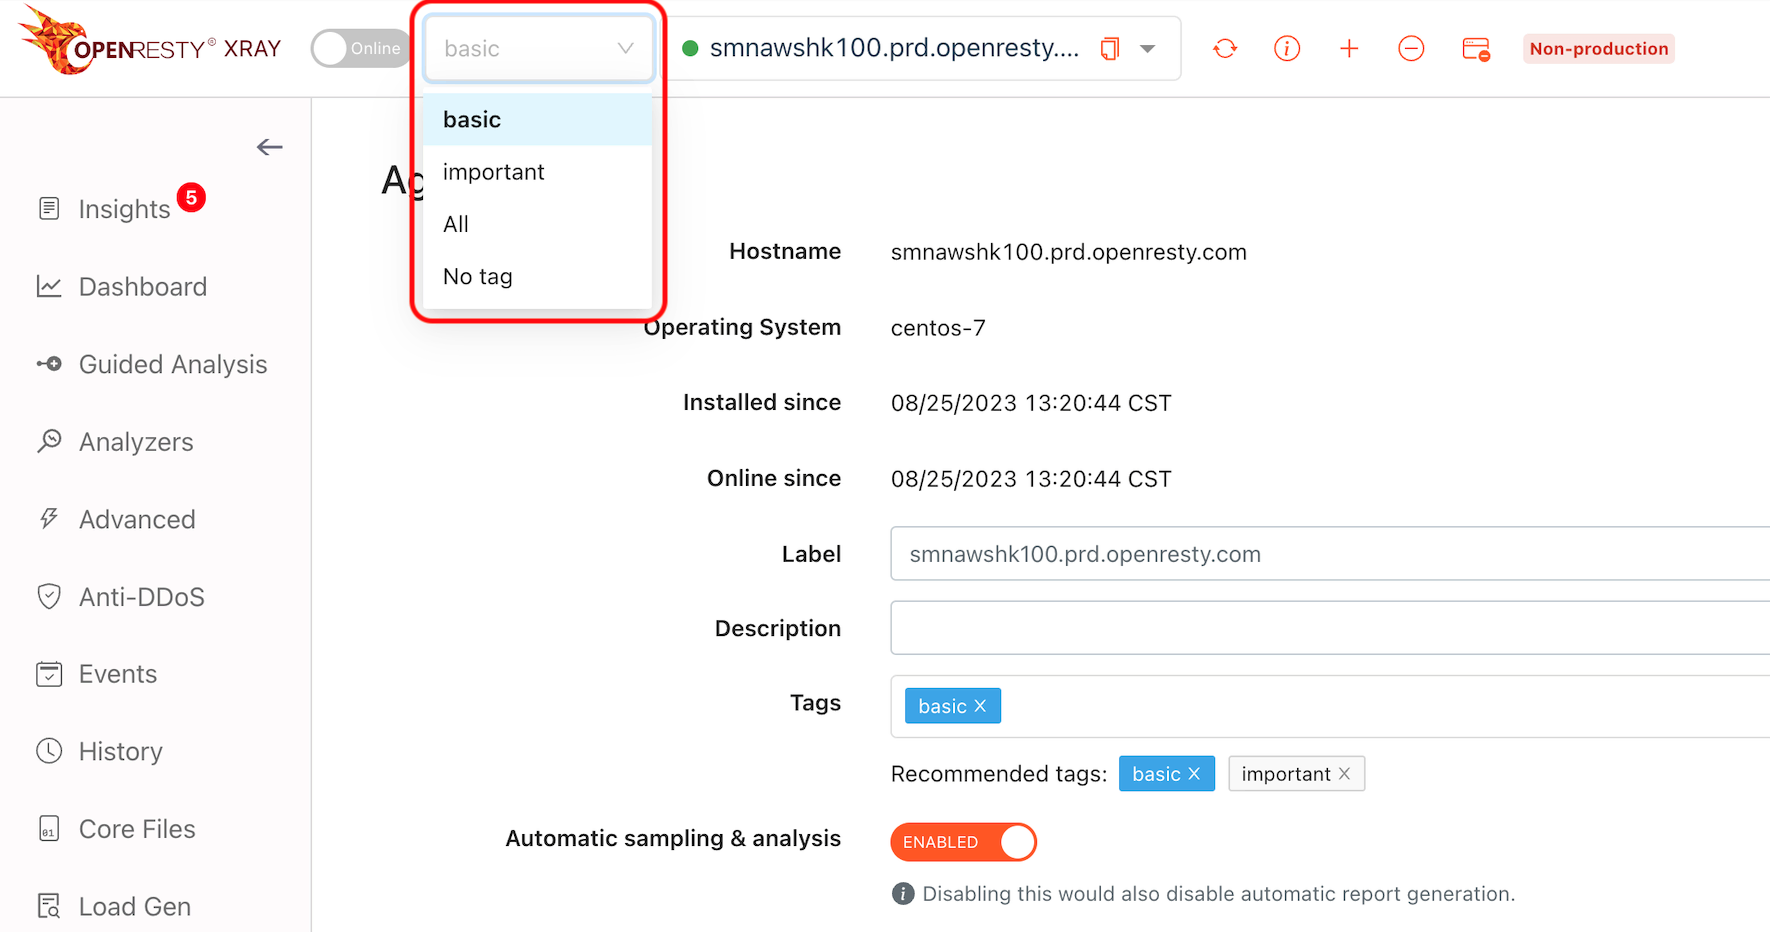
- The system will then showcase all agents associated with the chosen tag.
- Select individual agents to manage or inspect their detailed information.
Important Notes
- Before deleting a tag, confirm it’s not linked to any agents.
- Keep tag names short and clear to facilitate easy recognition.
- Note that you can only assign one tag per agent in the cloud version.
- The number of tags added must not exceed the number of available licenses.