Kubernetes Configuration
On the Kubernetes Configuration page, you can manage the parameters used to connect to Kubernetes clusters. Before you can bind upstreams to Kubernetes services or bind a cluster gateway to k8s, you must first complete the cluster configuration on this page.
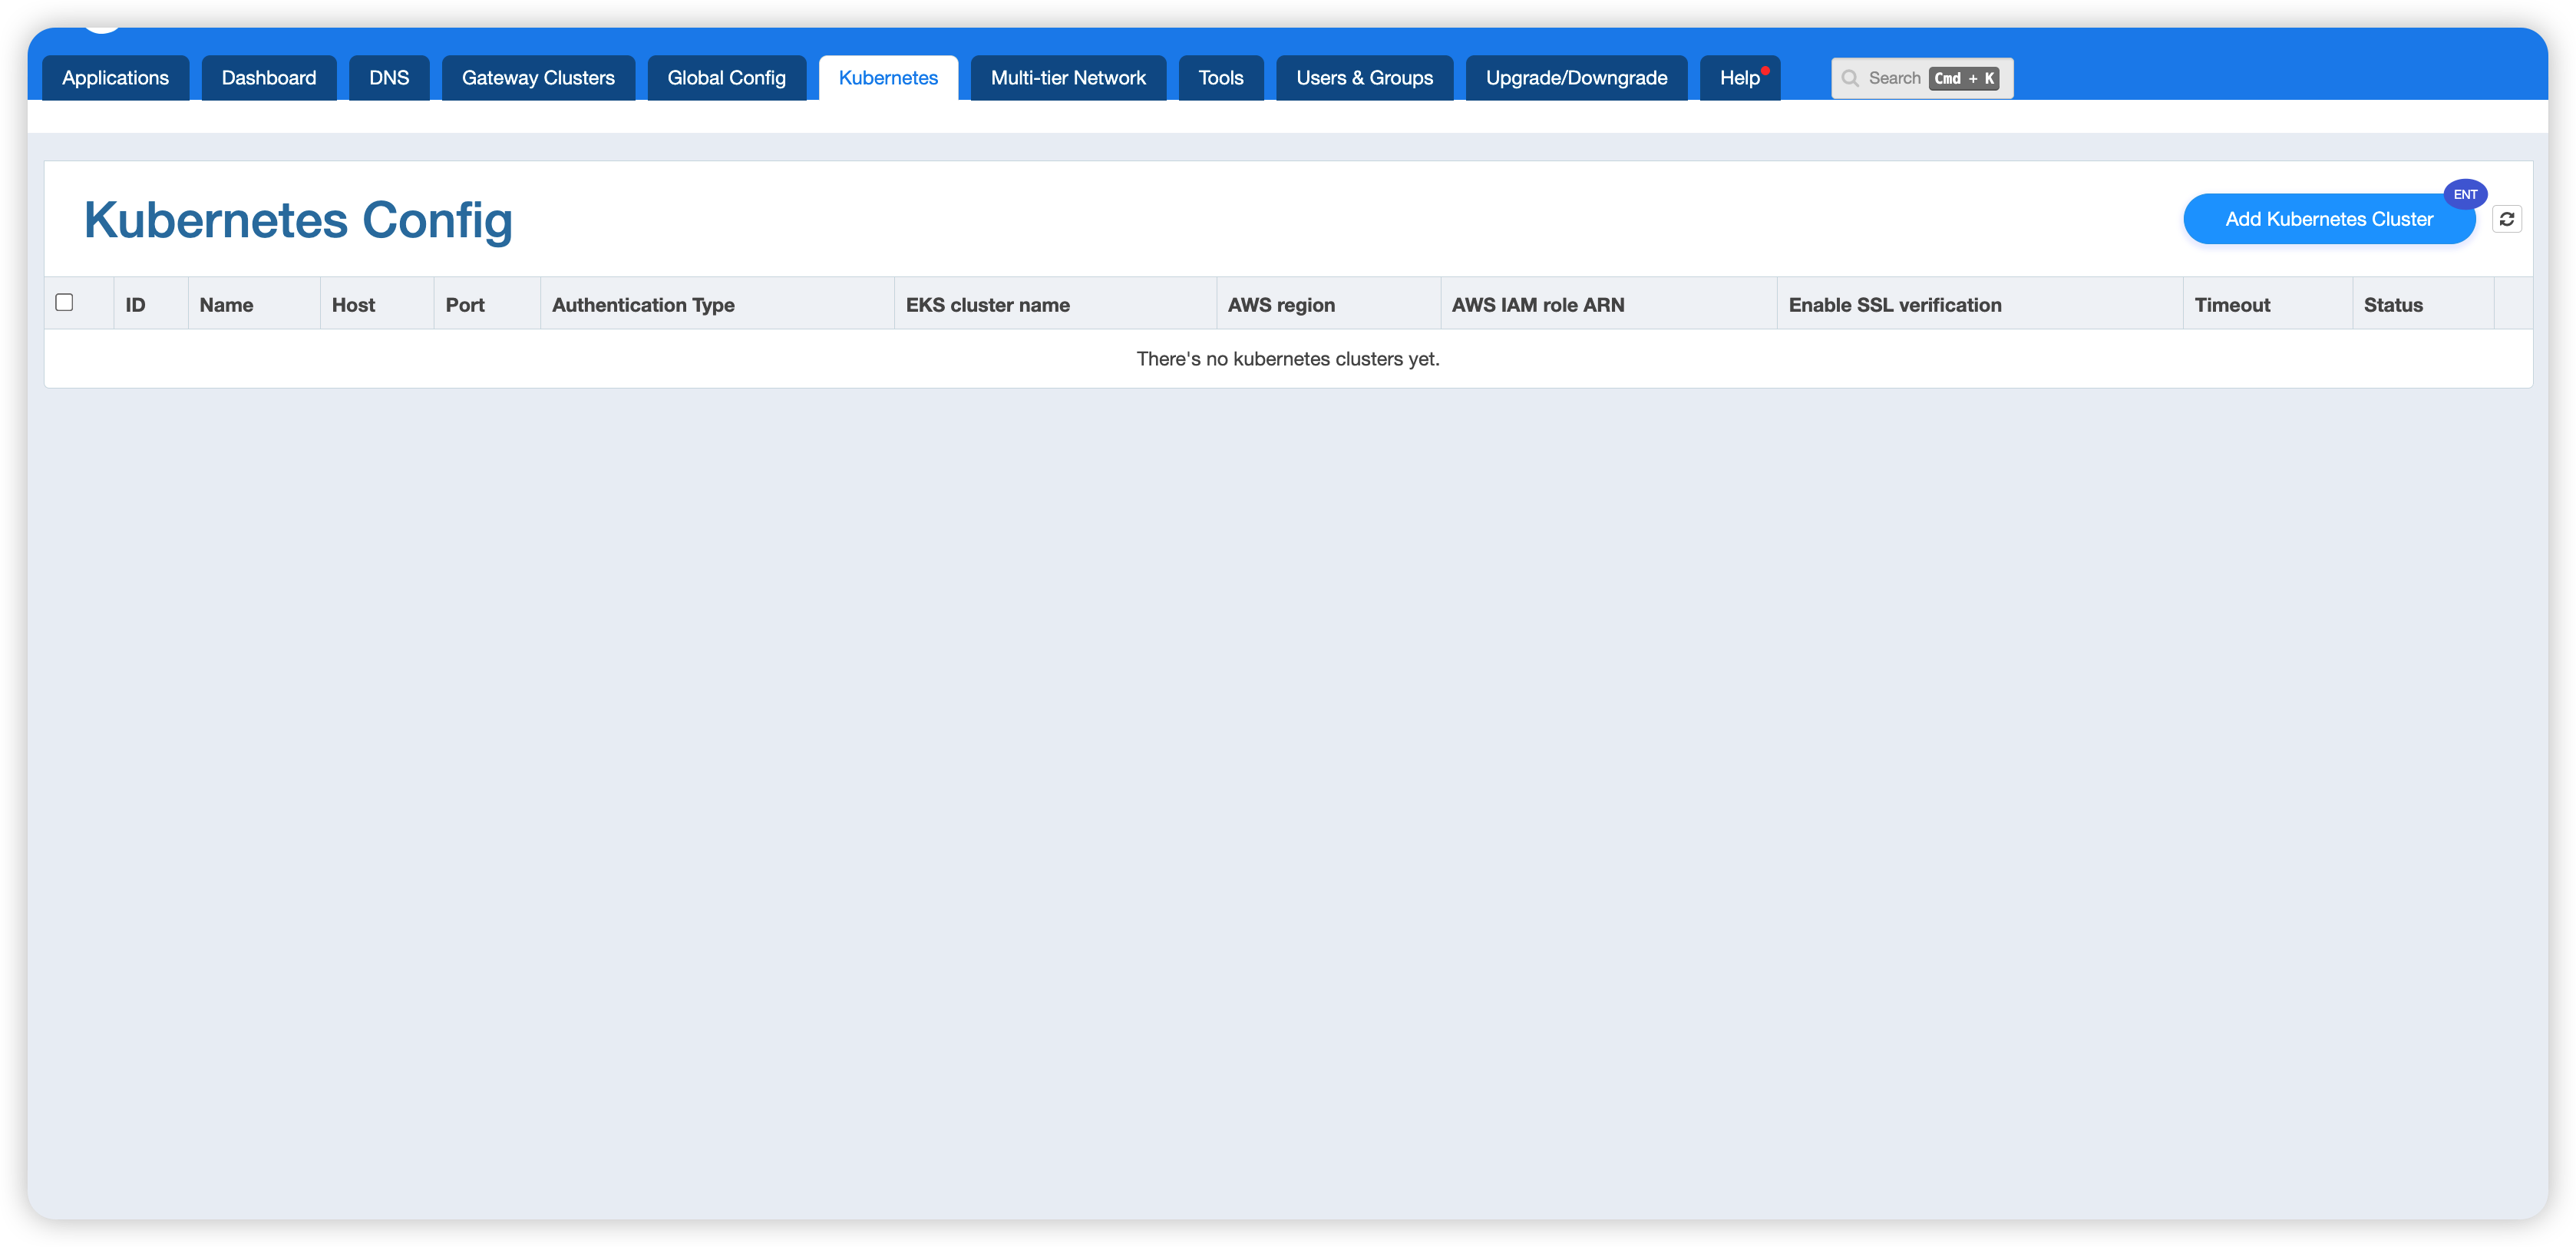
The configuration list shows all the Kubernetes clusters that have been added, including the following fields:
- ID / Name: The unique identifier and name of the cluster
- Host / Port: The host address and port of the cluster
- Authentication Type: The authentication method,
Static TokenorAWS EKS Dynamic Token.AWS EKS Dynamic Tokenwas first introduced in version26.6.1-1. - EKS cluster name / AWS region / AWS IAM role ARN: Displayed only when using AWS EKS Dynamic Token
- Enable SSL verification: Whether SSL verification is enabled. When the
AWS EKS Dynamic Tokenmethod is selected, this switch must remain off. - Timeout: The connect, read, and send timeouts
- Status: The current connection status (such as Disconnected, Error, etc.)
Adding a Kubernetes Cluster
Click the Add Kubernetes Cluster button in the upper-right corner of the page to open the cluster creation form.
Two authentication methods are supported; choose the one that fits your situation.
Method 1: Static Token
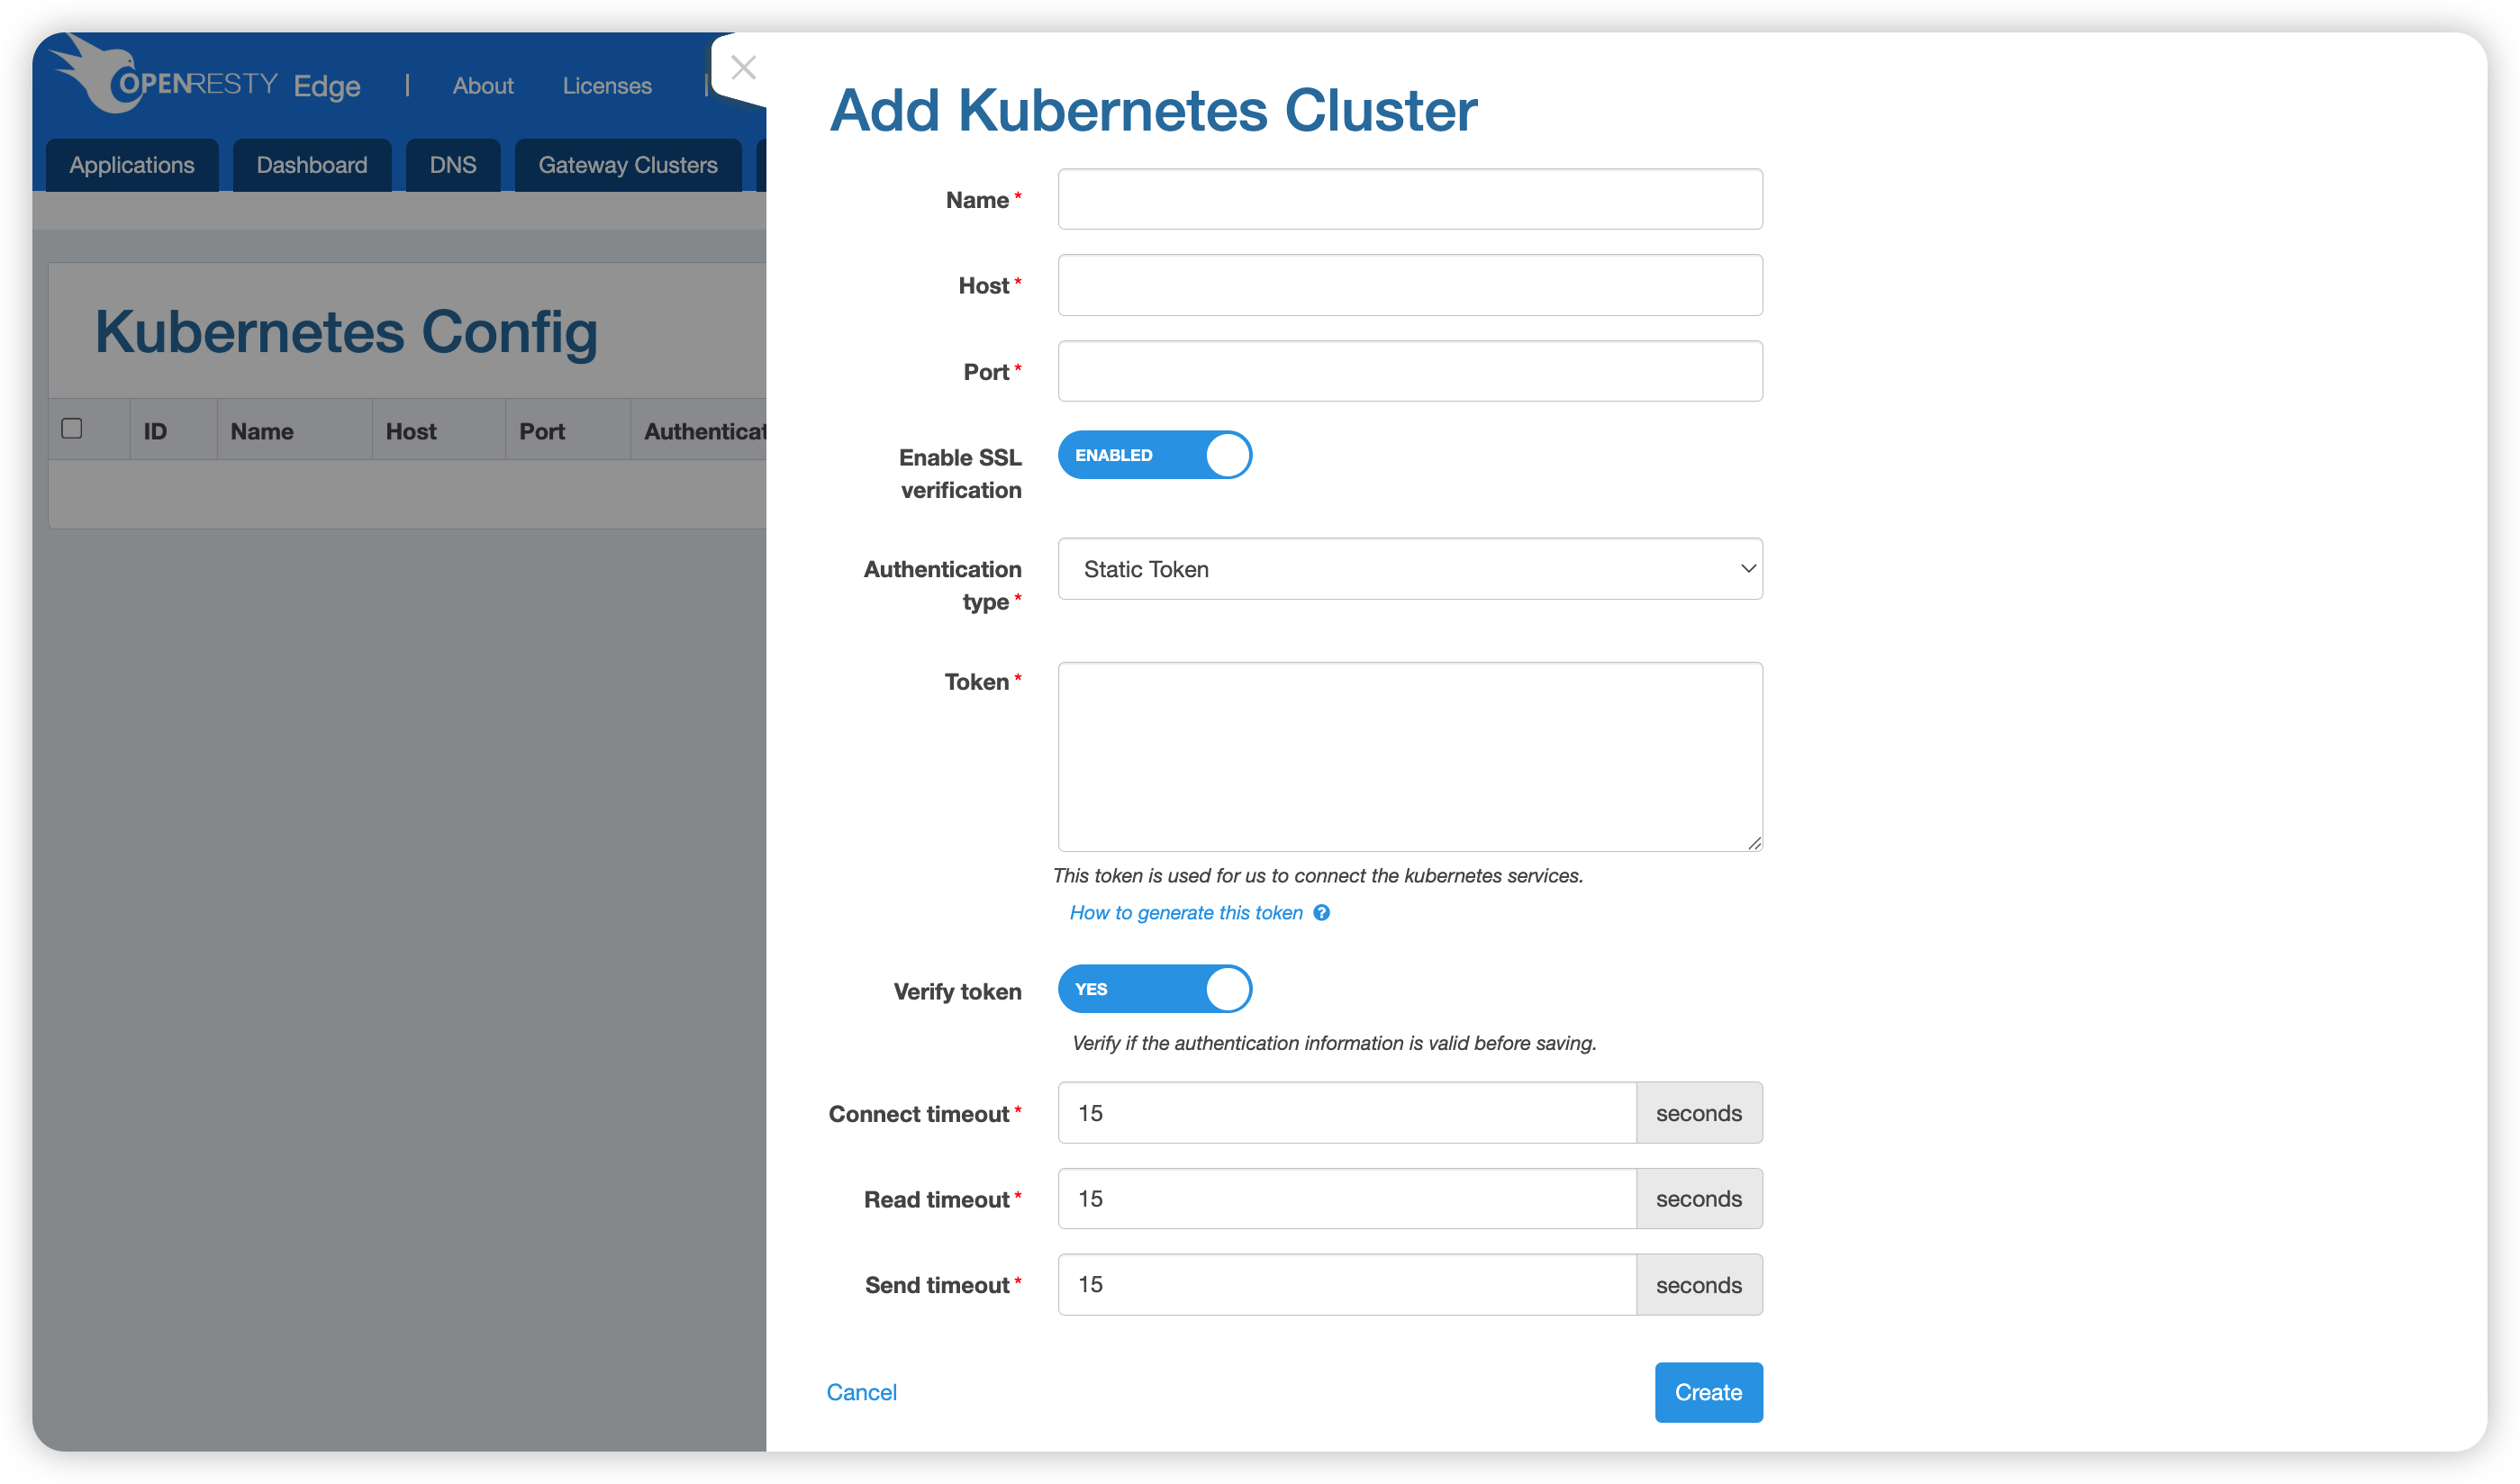
Fill in the following fields:
| Field | Description |
|---|---|
| Name | The cluster name (required) |
| Host | The host address of the Kubernetes API Server (required) |
| Port | The port number (required) |
| Enable SSL verification | Whether to enable SSL certificate verification; enabled by default |
| Authentication type | Select Static Token |
| Token | The Bearer Token used to connect to the Kubernetes service (required) |
| Verify token | Whether to verify the validity of the Token before saving; enabled by default |
| Connect timeout | Connect timeout; default is 15 seconds |
| Read timeout | Read timeout; default is 15 seconds |
| Send timeout | Send timeout; default is 15 seconds |
After filling in the fields, click Create to finish.
Method 2: AWS EKS Dynamic Token
Applicable to Amazon EKS clusters; the access Token is obtained dynamically using AWS IAM credentials.
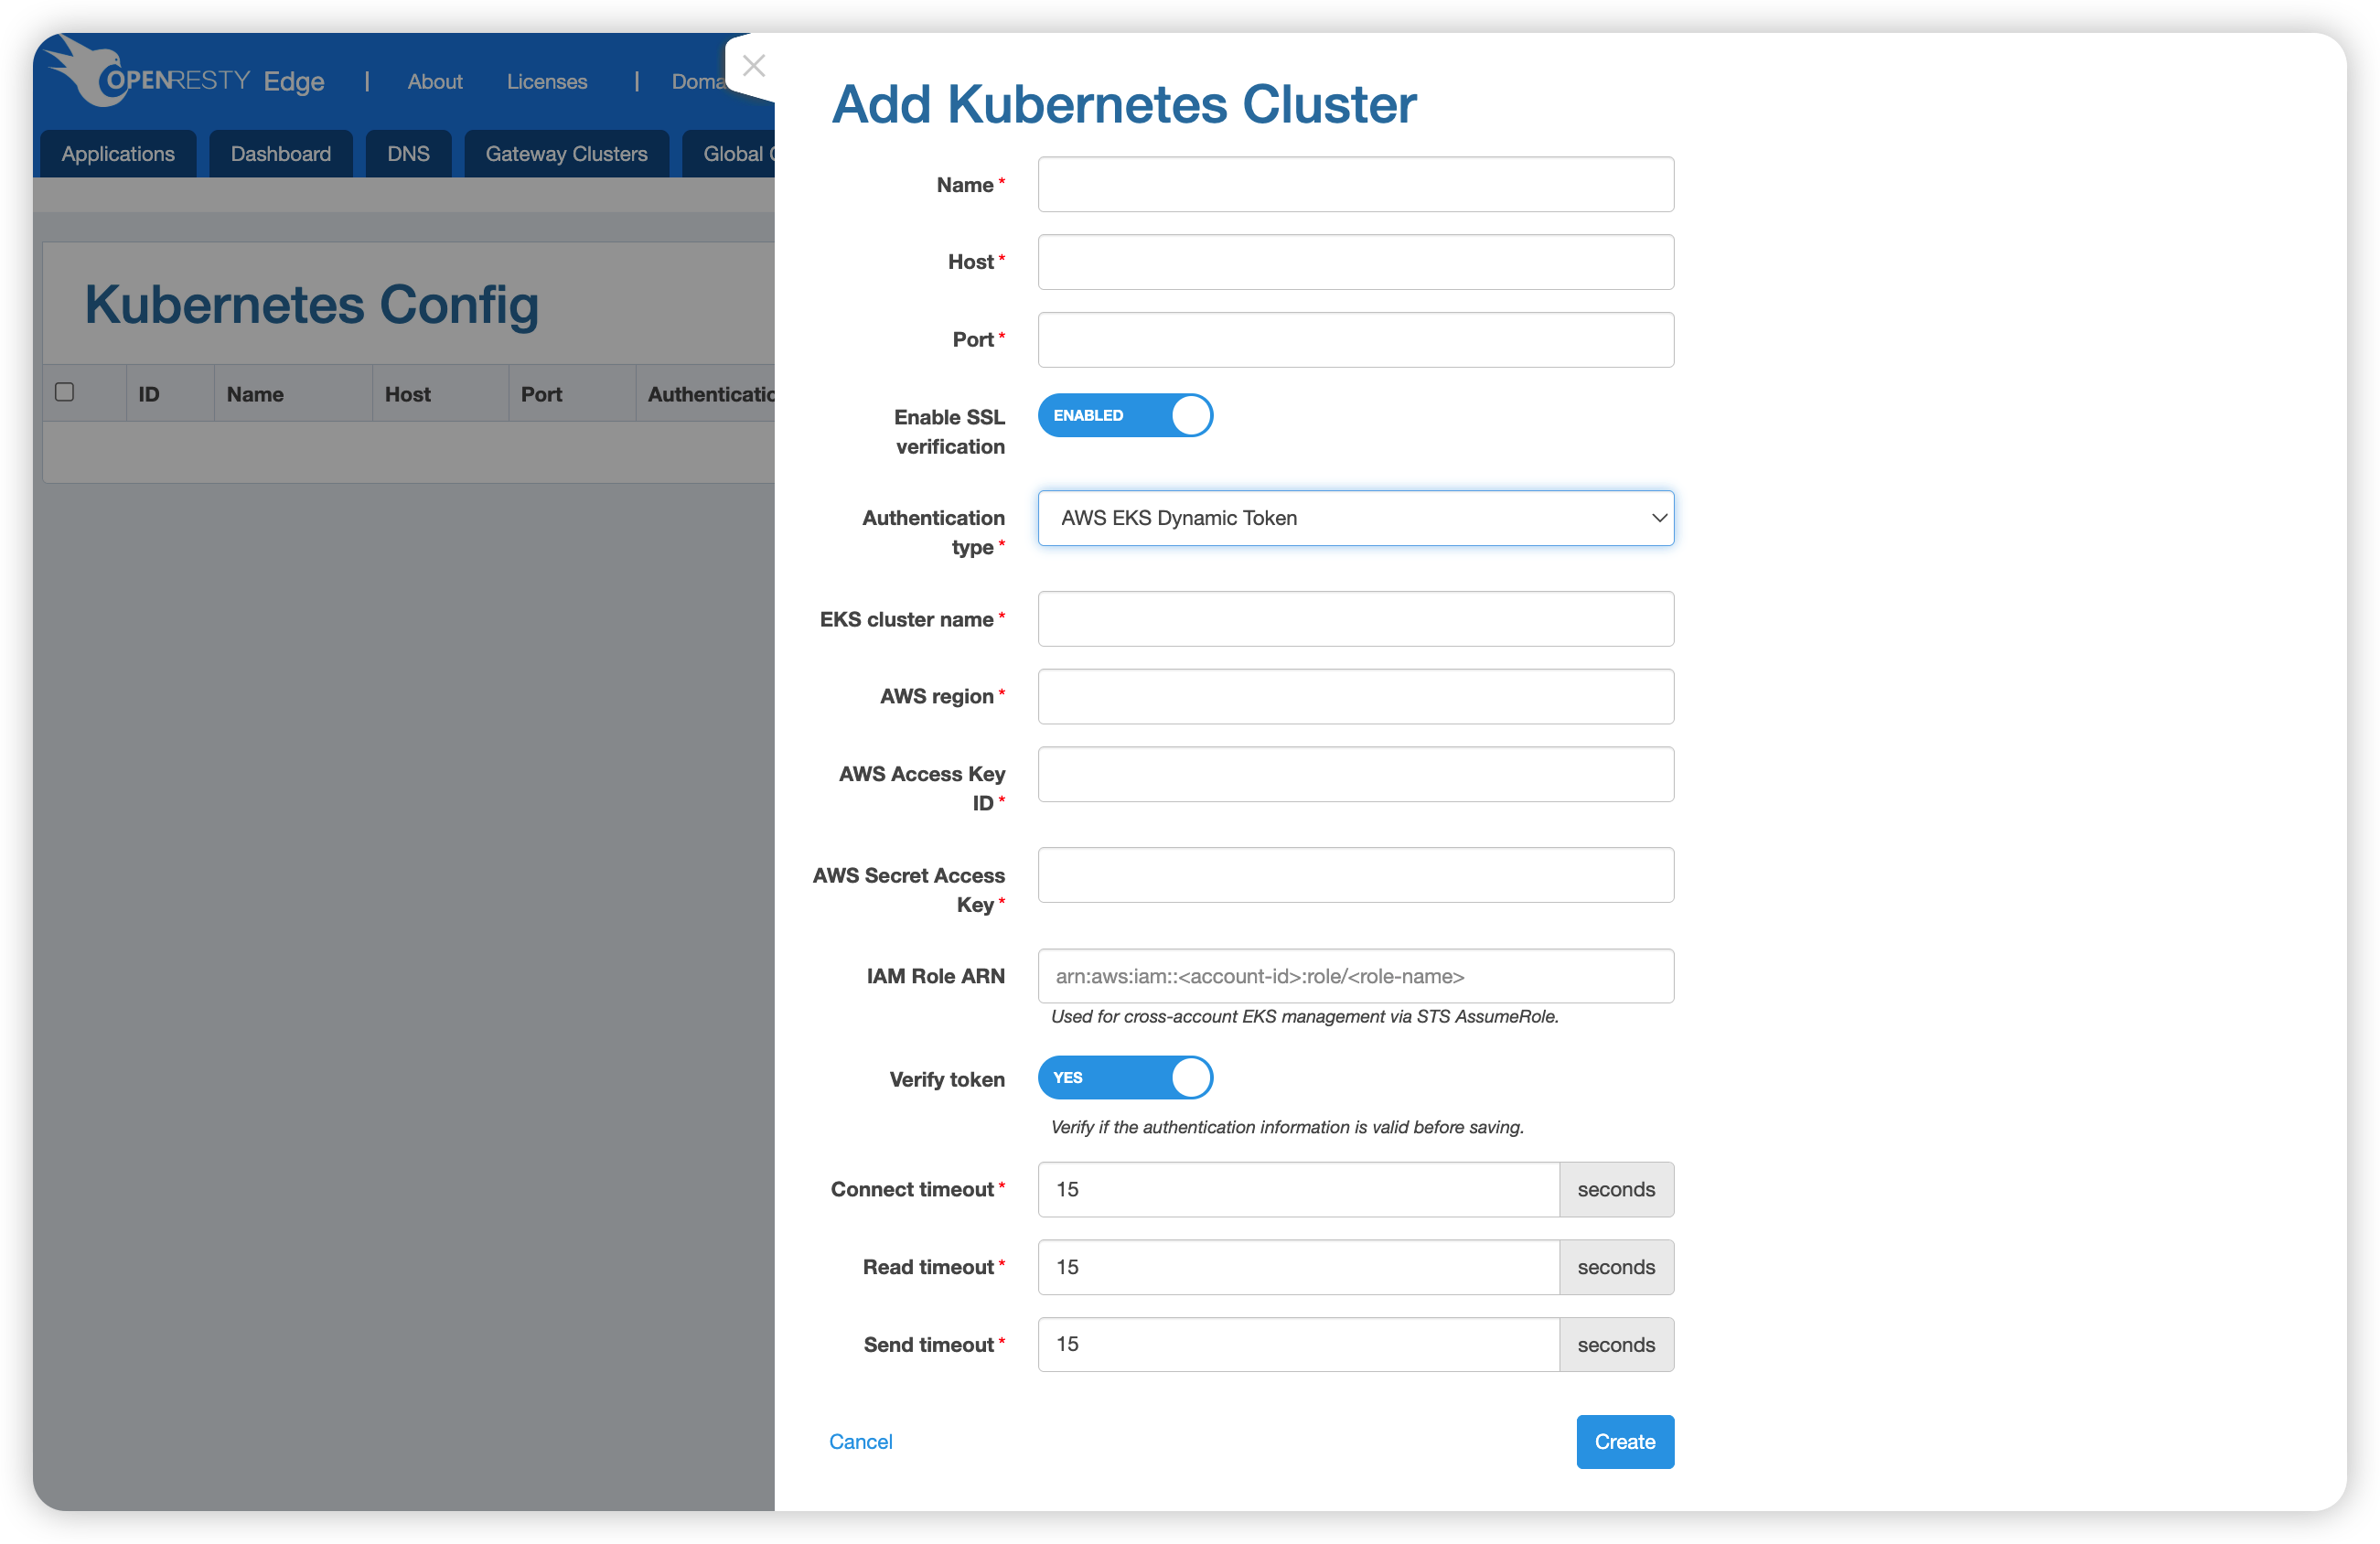
Fill in the following fields:
| Field | Description |
|---|---|
| Name | The cluster name (required) |
| Host | The EKS API Server address (required) |
| Port | The port number (required) |
| Enable SSL verification | Whether to enable SSL certificate verification; enabled by default |
| Authentication type | Select AWS EKS Dynamic Token |
| EKS cluster name | The name of the EKS cluster (required) |
| AWS region | The AWS region in which the cluster resides, e.g. us-east-1 (required) |
| AWS Access Key ID | The Access Key ID of the AWS IAM user (required) |
| AWS Secret Access Key | The Secret Access Key of the AWS IAM user (required) |
| IAM Role ARN | The IAM Role ARN used for cross-account management of EKS (optional), in the format arn:aws:iam::<account-id>:role/<role-name>. Cross-account access is achieved via STS AssumeRole. |
| Verify token | Whether to verify the validity of the credentials before saving; enabled by default |
| Connect timeout | Connect timeout; default is 15 seconds |
| Read timeout | Read timeout; default is 15 seconds |
| Send timeout | Send timeout; default is 15 seconds |
After filling in the fields, click Create to finish.
Generating a Static Token
Kubernetes uses Tokens for authentication. The following steps describe how to create a ServiceAccount with the required permissions and obtain its Token.
Step 1: Create the token.yaml file
apiVersion: v1
kind: ServiceAccount
metadata:
  name: openresty-edge-serviceaccount
  namespace: default

---
apiVersion: rbac.authorization.Kubernetes.io/v1
kind: ClusterRole
metadata:
  name: openresty-edge-clusterrole
rules:
  - apiGroups:
      - ""
    resources:
      - namespaces
      - services
      - endpoints
      - pods
    verbs:
      - get
      - list
      - watch

---
apiVersion: rbac.authorization.Kubernetes.io/v1
kind: ClusterRoleBinding
metadata:
  name: openresty-edge-clusterrole-binding
roleRef:
  apiGroup: rbac.authorization.Kubernetes.io
  kind: ClusterRole
  name: openresty-edge-clusterrole
subjects:
  - kind: ServiceAccount
    name: openresty-edge-serviceaccount
    namespace: default
Step 2: Apply the configuration and retrieve the Token
$ kubectl apply -f token.yml
$ kubectl describe secret $(kubectl get secret | grep openresty-edge-serviceaccount | awk '{print $1}') | grep "token: " | awk '{print $2}'
eyJhbGciOiJSUzI1NiIsImtpZCI6InJOZkJvNWItMDhYOXBfUGw2czBleWxNWXZBWi1KOXFqQ05GdjVCWUdpc3cifQ...
Fill the Token from the output into the Token field of the cluster creation form.
Generating an AWS EKS Dynamic Token
For Amazon EKS clusters, OpenResty Edge dynamically obtains an access Token using AWS IAM credentials. The following steps describe how to prepare the required IAM User, IAM Role, and cluster access permissions.
In the commands below, values such as
012345678901(AWS account ID),thoughtful-folk-mongoose(EKS cluster name),us-east-1(region), andopenresty-edge-user(user name) are examples. Replace them with your actual values.
Step 1: Create an IAM User and generate an Access Key
Create a dedicated IAM User to serve as the base credentials used by Edge:
aws iam create-user --user-name openresty-edge-user
aws iam create-access-key --user-name openresty-edge-user
The output of the create-access-key command includes AccessKeyId and SecretAccessKey. Save them carefully; you will later fill them into the AWS Access Key ID and AWS Secret Access Key fields of the form.
Step 2: Create an IAM Role that allows the User to AssumeRole
aws iam create-role \
  --role-name EKSAccessRole \
  --assume-role-policy-document '{
    "Version": "2012-10-17",
    "Statement": [{
      "Effect": "Allow",
      "Principal": {
        "AWS": "arn:aws:iam::012345678901:user/openresty-edge-user"
      },
      "Action": "sts:AssumeRole"
    }]
  }'
The Role ARN produced after successful creation (in the form arn:aws:iam::012345678901:role/EKSAccessRole) is the value for the IAM Role ARN field in the form.
Step 3: Configure Access Entry for the EKS cluster (recommended for EKS 1.23+)
Use EKS Access Entries to bind the IAM Role created in the previous step to the target cluster and grant Kubernetes-layer access permissions:
# Add an access entry for the cluster
aws eks create-access-entry \
  --cluster-name thoughtful-folk-mongoose \
  --principal-arn arn:aws:iam::012345678901:role/EKSAccessRole \
  --region us-east-1

# Associate an access policy (the example uses cluster admin permissions; choose a finer-grained policy as needed)
aws eks associate-access-policy \
  --cluster-name thoughtful-folk-mongoose \
  --principal-arn arn:aws:iam::012345678901:role/EKSAccessRole \
  --policy-arn arn:aws:eks::aws:cluster-access-policy/AmazonEKSClusterAdminPolicy \
  --access-scope type=cluster \
  --region us-east-1
Step 4: Verify the configuration (optional)
TOKEN=$(aws eks get-token --cluster-name thoughtful-folk-mongoose --region us-east-1 | jq -r '.status.token'
ENDPOINT=https://281CEF339BFD565BF8605A8A67EA6084.gr7.us-east-1.eks.amazonaws.com
curl -k -H "Authorization: Bearer $TOKEN" $ENDPOINT/api